08 Oct 2018 00:20:50
Hello everyone!

I recently completed some "dye" removal efforts on two of my RAH figures, so figured I'd share the outcome so you can determine if this is something you'd like to try or not. First of all, as mentioned in large bold text above, I HIGHLY encourage you to read this BEFORE attempting this yourself. There are some items to make sure you are aware of before proceeding, and you may decide not to proceed after reading.
And of course....if you decide to try this product/method yourself, you do so at your own risk, as I am only stating my experience not recommending this method. Also, please perform on a TEST area FIRST!!!
Ok, so now that we are past the disclaimers, let me explain the issue. I have two RAH figures that have black clothing. It is known that some of the dye, fabric, and/or plastic used in the older figures is more conducive to dye stains, and to confirm, both of my somewhat older RAH figures with black clothing experienced this first hand, i.e. my Darker than Black Hei (https://myfigurecollection.net/item/43024) and my FMA Edward Elric (https://myfigurecollection.net/item/1785). Both Ed and Hei had black dye stains on their face and/or neck. Hei's was more intense but less noticeable as it was under his chin area, so you couldn't really see it just from looking at him straight on (I only noticed after posing him and looking at him from the bottom area up). Ed's was a bit more noticeable as his stains were not only under his chin, but also higher up on his neck and facial area. He also had some staining on his body, which is made out of a different material than what the RAH heads are made of, and a wee spot or two on his hand.
So first, let me show you some pics of these guys.... :D
First up is bachelor #1...he enjoys hanging in the library studying old books, alchemy, drinking margaritas, and his favorite kinda gal is one who knows her way around a garage!! Meet EDWARD ELRIC!!! :D


....and here's some shots of Ed's stains (you can click on the picture to see the full-size version):


And next up, is bachelor #2.....this pretty boy with beautiful collar-bones might seem a bit shy, but he's a real fire-cracker who loves playing with electricity, contract labor, masquerades, his favorite color is black, appreciates fine cutlery, and his favorite type of women are those of few words!!! Meet the man of many names, the BLACK REAPER, BK-201.......say "Hi!" to Hei!!!
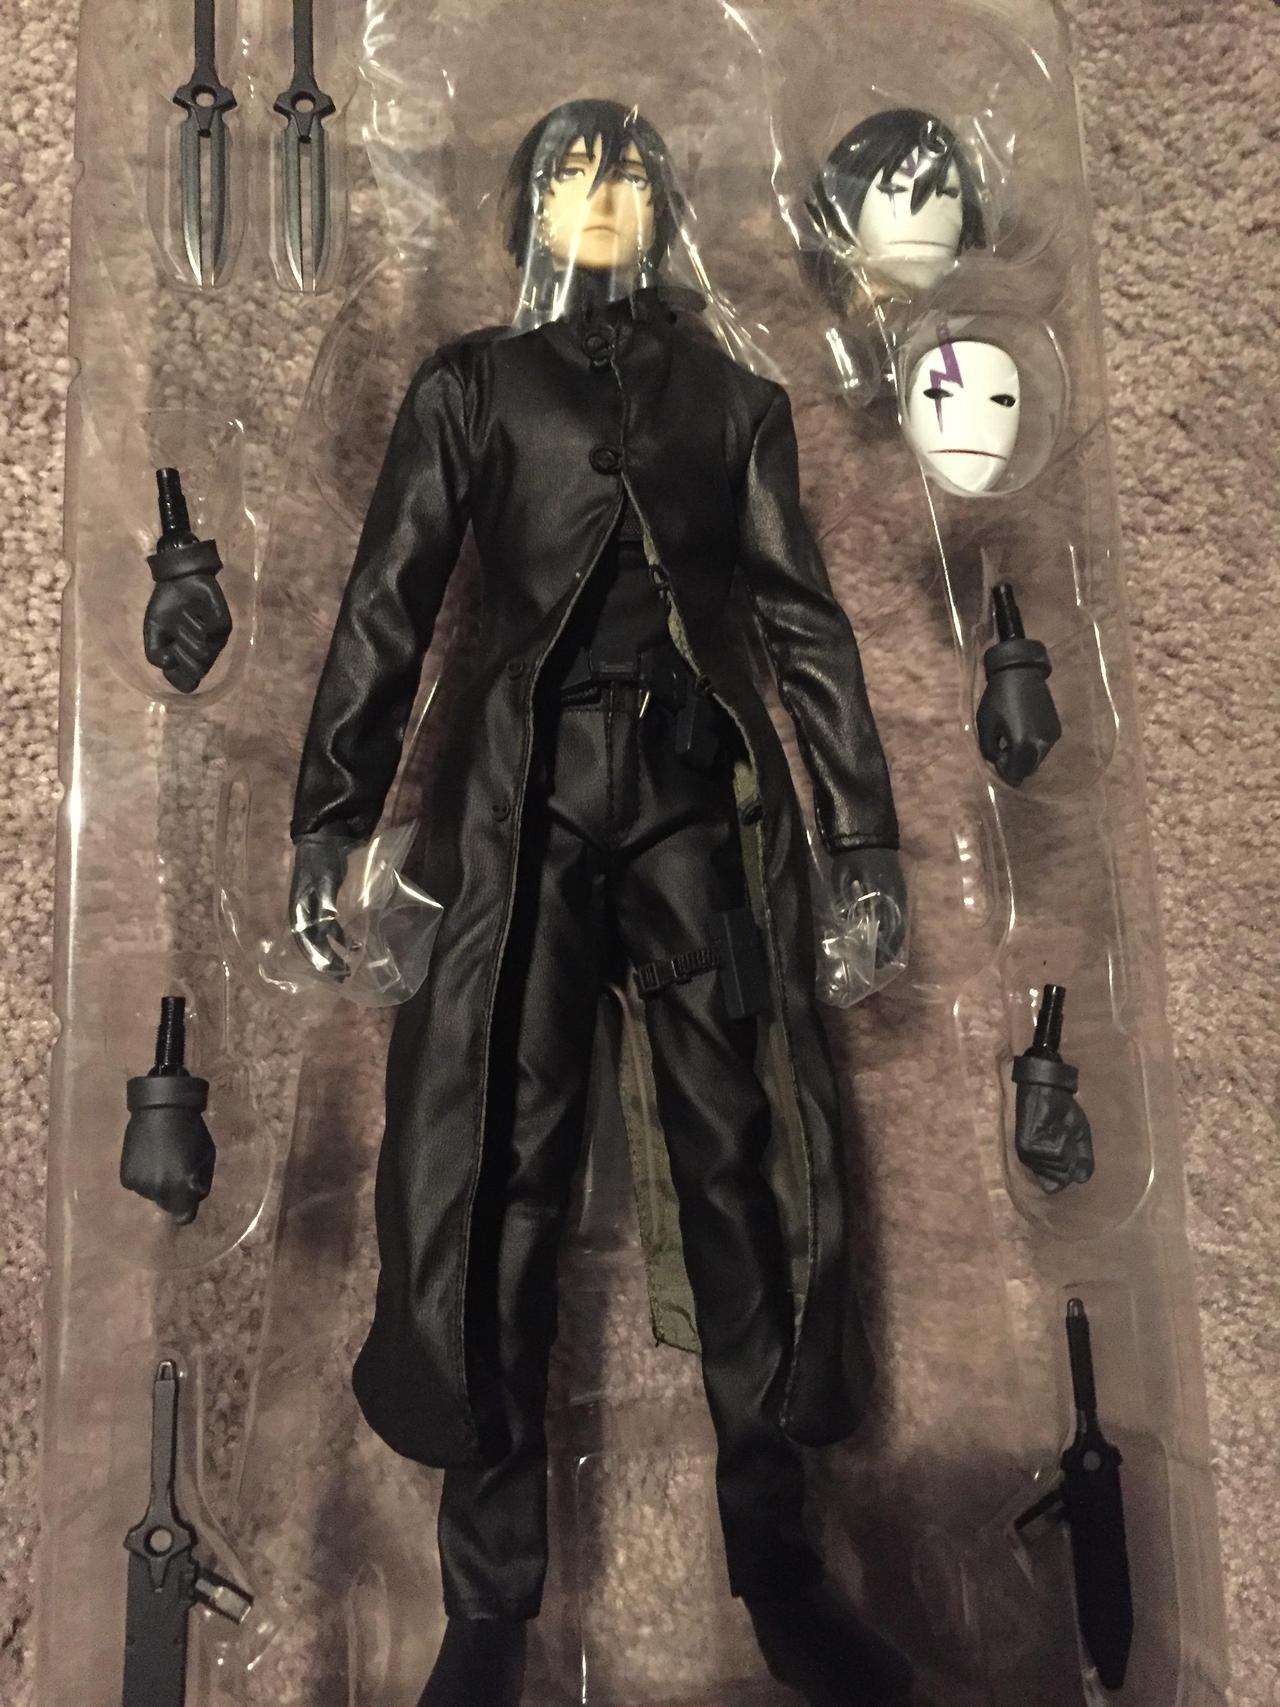

....and here's some of poor little Hei's dye stains:


Ok, so now you know what we're dealing with here...some pretty heavy staining. I read quite a few articles on how to get these stains out, but the most promising things I read were related to some "stain" removers containing benzoyl peroxide. So, then I did more research to figure out what I could use that might be safe for my figures, but tough on those stubborn stains! Now to be clear, there are lots of suggestions, including various acne creams, etc... but I wanted to know which method folks had the most success with, so to Google I went!!
That's when I found an article about vinyl baby dolls and a cleaner made specifically for ink / dye stains on vinyl doll bodies. So....since the heads of a RAH are much softer, perhaps vinyl, unlike their hard plastic bodies, I thought hmmm...this may be the one to try!!! The article (found here - provided the name and a link to buy the "cleaner" as well as how they went about cleaning their baby, so I purchased me some stuff and decided I was going for it (purchased it here -
...and the solution is called Remove-Zit!!! ....and while I get the pun, it still sounds WAY too much like an acne treatment, so I myself would've picked another name I think...but oh well (I mean at the very least call it "Removez-IT...don't literally put the word "zit" in the name, sheesh!!).

Also, for all I know it could very well be Clearasil squeezed into a little tub and re-branded, but it said it was specially designed for stain removal on dolls, so sounded good enough to me!!!


Now, my first course of action once I got it in, was to test it out before I just went in full force. So, I picked one of my lesser expensive RAH's and put a spot or two of the cream on the underside of their head (in an inconspicuous area, just in case), left it a few days, then assessed the damage. Everything looked fine after I cleaned it off, no staining of the actual skin color, etc... so I decided to go for it!
Now...please note this is NOT a quick process. It took me about a month to get the stains out. What I did was apply the cream with a needle (just getting some cream on the needle and dabbing it directly onto the stains - the needle is just to help me be precise, you don't poke it into the figure however, just wipe the cream on the surface). I would apply the cream, wait about 2 days, wipe it off with a dry paper towel (I did not wash it off or use water even, just got what I could off with the paper towel), and then would re-apply. To help speed the process, I even sat the damaged areas in the sun (as word is the sun will speed up the process). I would not recommend this long, long term for sure, since the sun can damage your figures (perhaps fade some of the darker areas, etc...), but for me, this time, it turned out ok. I used this method on both Hei and Ed's heads.
Here are a few shots of the cream on the figures' heads:


You can see in the above image of Ed's head, the importance of being careful and precise when applying / cleaning off the cream. The red circled area is where I accidentally got a bit of the cream on his painted hair. It stripped the paint right off that spot. This also shows the importance of testing this on a inconspicuous area of your figure before just smearing it all over, as it may not have the results you expect or cause some sort of damage, so just be careful if you choose to go this route.

Anyway, I repeated the process of applying the cream, waiting 2 days, removing the old cream and re-applying for about a month as stated before, and well, here's my end results:

Click here to see more close-up pics!
For Edward's body...since it is a different material than his head as I mentioned before, I tested this area as well. Just dabbing the solution on and almost IMMEDIATELY wiping it off appeared to eat at the plastic and/or clear coating that was on his torso, so....I decided NOT to use the Remove-Zit on this area. Since the body appeared to be more "surface dye stains" rather than "soaked-into-layers-and-layers-of-the-vinyl stains", I figured to heck with it...I'll just try this magic eraser. And, I can confirm it is magical indeed. It did nothing for the stains on the RAH heads, but it worked wonders on the body. It even removed "most" of the stains on the hand. There was still one small little dot on the hand, but it was so small, I decided to just leave it be...as the magic eraser got the larger stain out.
Below are some body shots of Ed post-magic eraser:


And finally, some fun shots of the process with dates (and a few before/after shots of the other stained areas)...you can really tell in these how slow the process is. It takes LOTS of patience.
And again, you can just click on the images to see their full size versions.
Edward:

Ed's Magic Eraser Treatment:

GEESH ED!!! What's your workout routine....those ABS?!!!
Hei:

One thing I'd like to point out, is that after the 4 weeks or so of applying this cream to the RAH heads and having it sit, nonstop....I noticed the vinyl/head material was MUCH softer in the areas where the cream had been. Even after I washed the cream off it was soft and had a different feel than the rest of the head. I was pretty concerned at this initially. I also recall touching Ed's black jacket, then grabbing his head after and the small amount of dye that was apparently on my fingers smudged on his face where it was softer and was a PAIN to get off again, so it's like the material was more porous than previously. Again...this panicked me a great deal as I was worried the integrity of the material had deteriorated and would be more susceptible to damage and future staining (which if it was already easy to stain now it would be a NIGHTMARE). SO....before putting my figure back together, I cleaned the heads THOROUGHLY with warm, soapy water (I used a toothbrush and Dawn dishwashing liquid). I then let the heads sit, by themselves, for several more weeks (maybe another month). After this when I went back to check, the softness and such seemed to be gone and they felt as though they were back to normal.
I tell you all this, because while this method works for removing stains, I do not believe it is without risks, so I just want to make sure you all area aware it "could" damage your figure and/or the paint on the figure if it gets in the wrong places. So again....use this at your own risk, and if you do use it, be CAREFUL!!!

For myself...while I was quite panicked at first, I am now glad I used the treatment, as I think it turned out great and it is quite the peace of mind knowing those unsightly massive stains are no longer haunting me! :D

My next project will be to "freshen" up Ed's coat, as there are stains on the white trim and just washing it will NOT do the trick. I have read some solutions to this, but I'll leave that for another blog another day. Below is a sneak peak of what the staining looks like (...and you can see how white the sleeve trim is in comparison with the top part of the jacket, YIKES...ring around the collar much?!!!).

And that concludes my RAH how-to for dye stains!!! Hope you found something enjoyable or a tad bit interesting at least! :D
..and on that note....Hei bids you farewell and thanks you for hanging in there (as he knows his owner is very VERBOSE and put a shit ton of pics in this blog...so congrats to you for making it to the end)!!! He can now slip quietly into the night to do his contractor business, without having to worry about those unsightly stains on his neck (or feeling like he has to wear his mask ALL THE TIME...or wear a turtle neck to hide the shame!!)...WHEW!!! What a load off!!!

That's it Hei!!! Take it off!!! Take it all off!!
....oh wait, I think I'm getting distracted, and a bit off topic.... Hehee....

BYE!!! And thanks for reading!!
Stacy
Oh, and just to make it easy to find in case someone wanders across this blog looking for general info on RAH fixes and such, below are the links to my other RAH blogs:
I recently completed some "dye" removal efforts on two of my RAH figures, so figured I'd share the outcome so you can determine if this is something you'd like to try or not. First of all, as mentioned in large bold text above, I HIGHLY encourage you to read this BEFORE attempting this yourself. There are some items to make sure you are aware of before proceeding, and you may decide not to proceed after reading.
***Please READ before attempting the methods mentioned here!!!***
***Also, please note this blog is picture HEAVY!!***

And of course....if you decide to try this product/method yourself, you do so at your own risk, as I am only stating my experience not recommending this method. Also, please perform on a TEST area FIRST!!!
Ok, so now that we are past the disclaimers, let me explain the issue. I have two RAH figures that have black clothing. It is known that some of the dye, fabric, and/or plastic used in the older figures is more conducive to dye stains, and to confirm, both of my somewhat older RAH figures with black clothing experienced this first hand, i.e. my Darker than Black Hei (https://myfigurecollection.net/item/43024) and my FMA Edward Elric (https://myfigurecollection.net/item/1785). Both Ed and Hei had black dye stains on their face and/or neck. Hei's was more intense but less noticeable as it was under his chin area, so you couldn't really see it just from looking at him straight on (I only noticed after posing him and looking at him from the bottom area up). Ed's was a bit more noticeable as his stains were not only under his chin, but also higher up on his neck and facial area. He also had some staining on his body, which is made out of a different material than what the RAH heads are made of, and a wee spot or two on his hand.
So first, let me show you some pics of these guys.... :D
First up is bachelor #1...he enjoys hanging in the library studying old books, alchemy, drinking margaritas, and his favorite kinda gal is one who knows her way around a garage!! Meet EDWARD ELRIC!!! :D
....and here's some shots of Ed's stains (you can click on the picture to see the full-size version):
And next up, is bachelor #2.....this pretty boy with beautiful collar-bones might seem a bit shy, but he's a real fire-cracker who loves playing with electricity, contract labor, masquerades, his favorite color is black, appreciates fine cutlery, and his favorite type of women are those of few words!!! Meet the man of many names, the BLACK REAPER, BK-201.......say "Hi!" to Hei!!!
....and here's some of poor little Hei's dye stains:
Ok, so now you know what we're dealing with here...some pretty heavy staining. I read quite a few articles on how to get these stains out, but the most promising things I read were related to some "stain" removers containing benzoyl peroxide. So, then I did more research to figure out what I could use that might be safe for my figures, but tough on those stubborn stains! Now to be clear, there are lots of suggestions, including various acne creams, etc... but I wanted to know which method folks had the most success with, so to Google I went!!
That's when I found an article about vinyl baby dolls and a cleaner made specifically for ink / dye stains on vinyl doll bodies. So....since the heads of a RAH are much softer, perhaps vinyl, unlike their hard plastic bodies, I thought hmmm...this may be the one to try!!! The article (found here - provided the name and a link to buy the "cleaner" as well as how they went about cleaning their baby, so I purchased me some stuff and decided I was going for it (purchased it here -
...and the solution is called Remove-Zit!!! ....and while I get the pun, it still sounds WAY too much like an acne treatment, so I myself would've picked another name I think...but oh well (I mean at the very least call it "Removez-IT...don't literally put the word "zit" in the name, sheesh!!).
Also, for all I know it could very well be Clearasil squeezed into a little tub and re-branded, but it said it was specially designed for stain removal on dolls, so sounded good enough to me!!!
Now, my first course of action once I got it in, was to test it out before I just went in full force. So, I picked one of my lesser expensive RAH's and put a spot or two of the cream on the underside of their head (in an inconspicuous area, just in case), left it a few days, then assessed the damage. Everything looked fine after I cleaned it off, no staining of the actual skin color, etc... so I decided to go for it!
Now...please note this is NOT a quick process. It took me about a month to get the stains out. What I did was apply the cream with a needle (just getting some cream on the needle and dabbing it directly onto the stains - the needle is just to help me be precise, you don't poke it into the figure however, just wipe the cream on the surface). I would apply the cream, wait about 2 days, wipe it off with a dry paper towel (I did not wash it off or use water even, just got what I could off with the paper towel), and then would re-apply. To help speed the process, I even sat the damaged areas in the sun (as word is the sun will speed up the process). I would not recommend this long, long term for sure, since the sun can damage your figures (perhaps fade some of the darker areas, etc...), but for me, this time, it turned out ok. I used this method on both Hei and Ed's heads.
Here are a few shots of the cream on the figures' heads:
You can see in the above image of Ed's head, the importance of being careful and precise when applying / cleaning off the cream. The red circled area is where I accidentally got a bit of the cream on his painted hair. It stripped the paint right off that spot. This also shows the importance of testing this on a inconspicuous area of your figure before just smearing it all over, as it may not have the results you expect or cause some sort of damage, so just be careful if you choose to go this route.
Anyway, I repeated the process of applying the cream, waiting 2 days, removing the old cream and re-applying for about a month as stated before, and well, here's my end results:
Click here to see more close-up pics!


For Edward's body...since it is a different material than his head as I mentioned before, I tested this area as well. Just dabbing the solution on and almost IMMEDIATELY wiping it off appeared to eat at the plastic and/or clear coating that was on his torso, so....I decided NOT to use the Remove-Zit on this area. Since the body appeared to be more "surface dye stains" rather than "soaked-into-layers-and-layers-of-the-vinyl stains", I figured to heck with it...I'll just try this magic eraser. And, I can confirm it is magical indeed. It did nothing for the stains on the RAH heads, but it worked wonders on the body. It even removed "most" of the stains on the hand. There was still one small little dot on the hand, but it was so small, I decided to just leave it be...as the magic eraser got the larger stain out.
Below are some body shots of Ed post-magic eraser:
And finally, some fun shots of the process with dates (and a few before/after shots of the other stained areas)...you can really tell in these how slow the process is. It takes LOTS of patience.
And again, you can just click on the images to see their full size versions.
Edward:
Ed's Magic Eraser Treatment:
GEESH ED!!! What's your workout routine....those ABS?!!!
Hei:
**NOTICE**
One thing I'd like to point out, is that after the 4 weeks or so of applying this cream to the RAH heads and having it sit, nonstop....I noticed the vinyl/head material was MUCH softer in the areas where the cream had been. Even after I washed the cream off it was soft and had a different feel than the rest of the head. I was pretty concerned at this initially. I also recall touching Ed's black jacket, then grabbing his head after and the small amount of dye that was apparently on my fingers smudged on his face where it was softer and was a PAIN to get off again, so it's like the material was more porous than previously. Again...this panicked me a great deal as I was worried the integrity of the material had deteriorated and would be more susceptible to damage and future staining (which if it was already easy to stain now it would be a NIGHTMARE). SO....before putting my figure back together, I cleaned the heads THOROUGHLY with warm, soapy water (I used a toothbrush and Dawn dishwashing liquid). I then let the heads sit, by themselves, for several more weeks (maybe another month). After this when I went back to check, the softness and such seemed to be gone and they felt as though they were back to normal.
I tell you all this, because while this method works for removing stains, I do not believe it is without risks, so I just want to make sure you all area aware it "could" damage your figure and/or the paint on the figure if it gets in the wrong places. So again....use this at your own risk, and if you do use it, be CAREFUL!!!
For myself...while I was quite panicked at first, I am now glad I used the treatment, as I think it turned out great and it is quite the peace of mind knowing those unsightly massive stains are no longer haunting me! :D
My next project will be to "freshen" up Ed's coat, as there are stains on the white trim and just washing it will NOT do the trick. I have read some solutions to this, but I'll leave that for another blog another day. Below is a sneak peak of what the staining looks like (...and you can see how white the sleeve trim is in comparison with the top part of the jacket, YIKES...ring around the collar much?!!!).
And that concludes my RAH how-to for dye stains!!! Hope you found something enjoyable or a tad bit interesting at least! :D
..and on that note....Hei bids you farewell and thanks you for hanging in there (as he knows his owner is very VERBOSE and put a shit ton of pics in this blog...so congrats to you for making it to the end)!!! He can now slip quietly into the night to do his contractor business, without having to worry about those unsightly stains on his neck (or feeling like he has to wear his mask ALL THE TIME...or wear a turtle neck to hide the shame!!)...WHEW!!! What a load off!!!
That's it Hei!!! Take it off!!! Take it all off!!
....oh wait, I think I'm getting distracted, and a bit off topic.... Hehee....
BYE!!! And thanks for reading!!
Stacy
Oh, and just to make it easy to find in case someone wanders across this blog looking for general info on RAH fixes and such, below are the links to my other RAH blogs: